Wall flashings are one of the most important details on an asphalt roof, but they are often overlooked until an active leak appears. At the point where a horizontal roof surface meets a vertical wall, the roofing system has to manage water, movement, weather exposure and often, the transition between different materials.
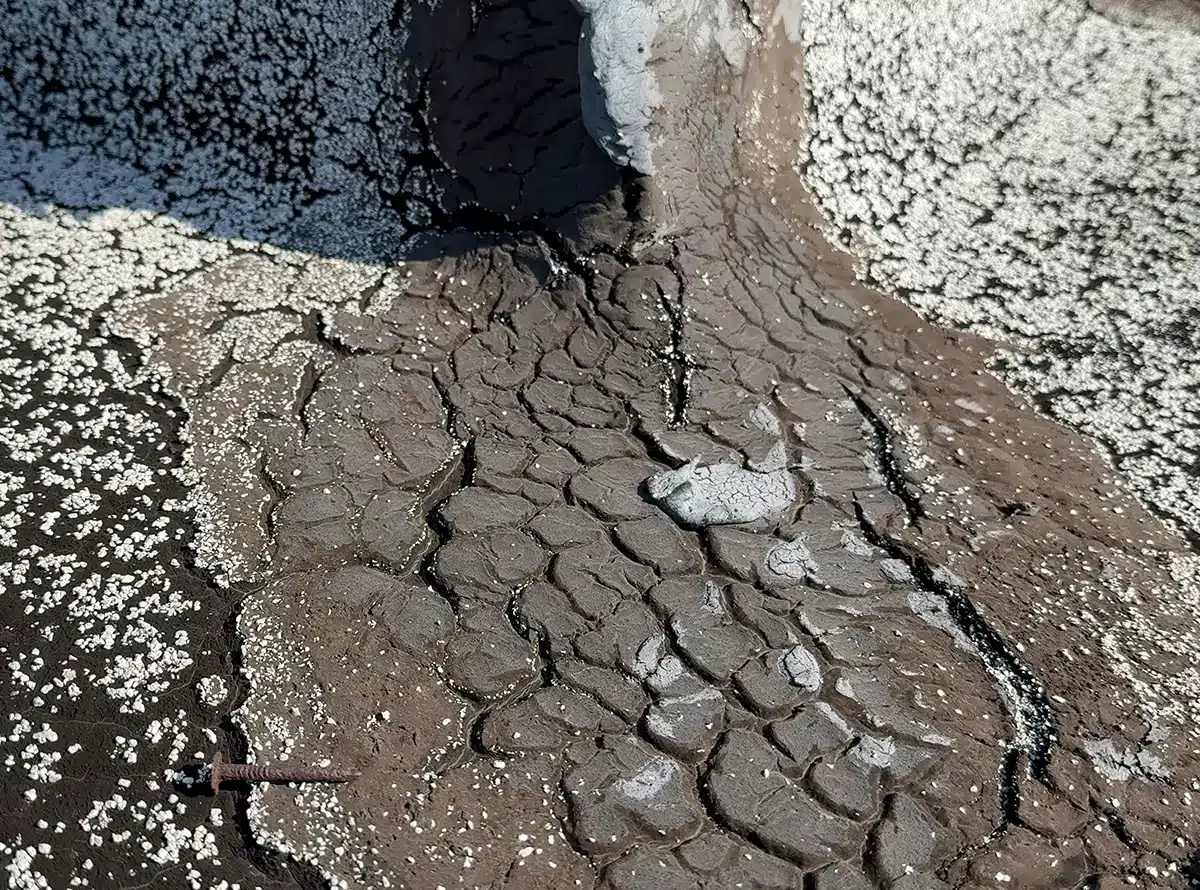
As asphalt roof membranes age, the roof cement and flashing materials used at wall transitions can dry out, crack and split. Once that happens, water may have a path to travel behind the flashing, into the roof system and eventually down into the building.
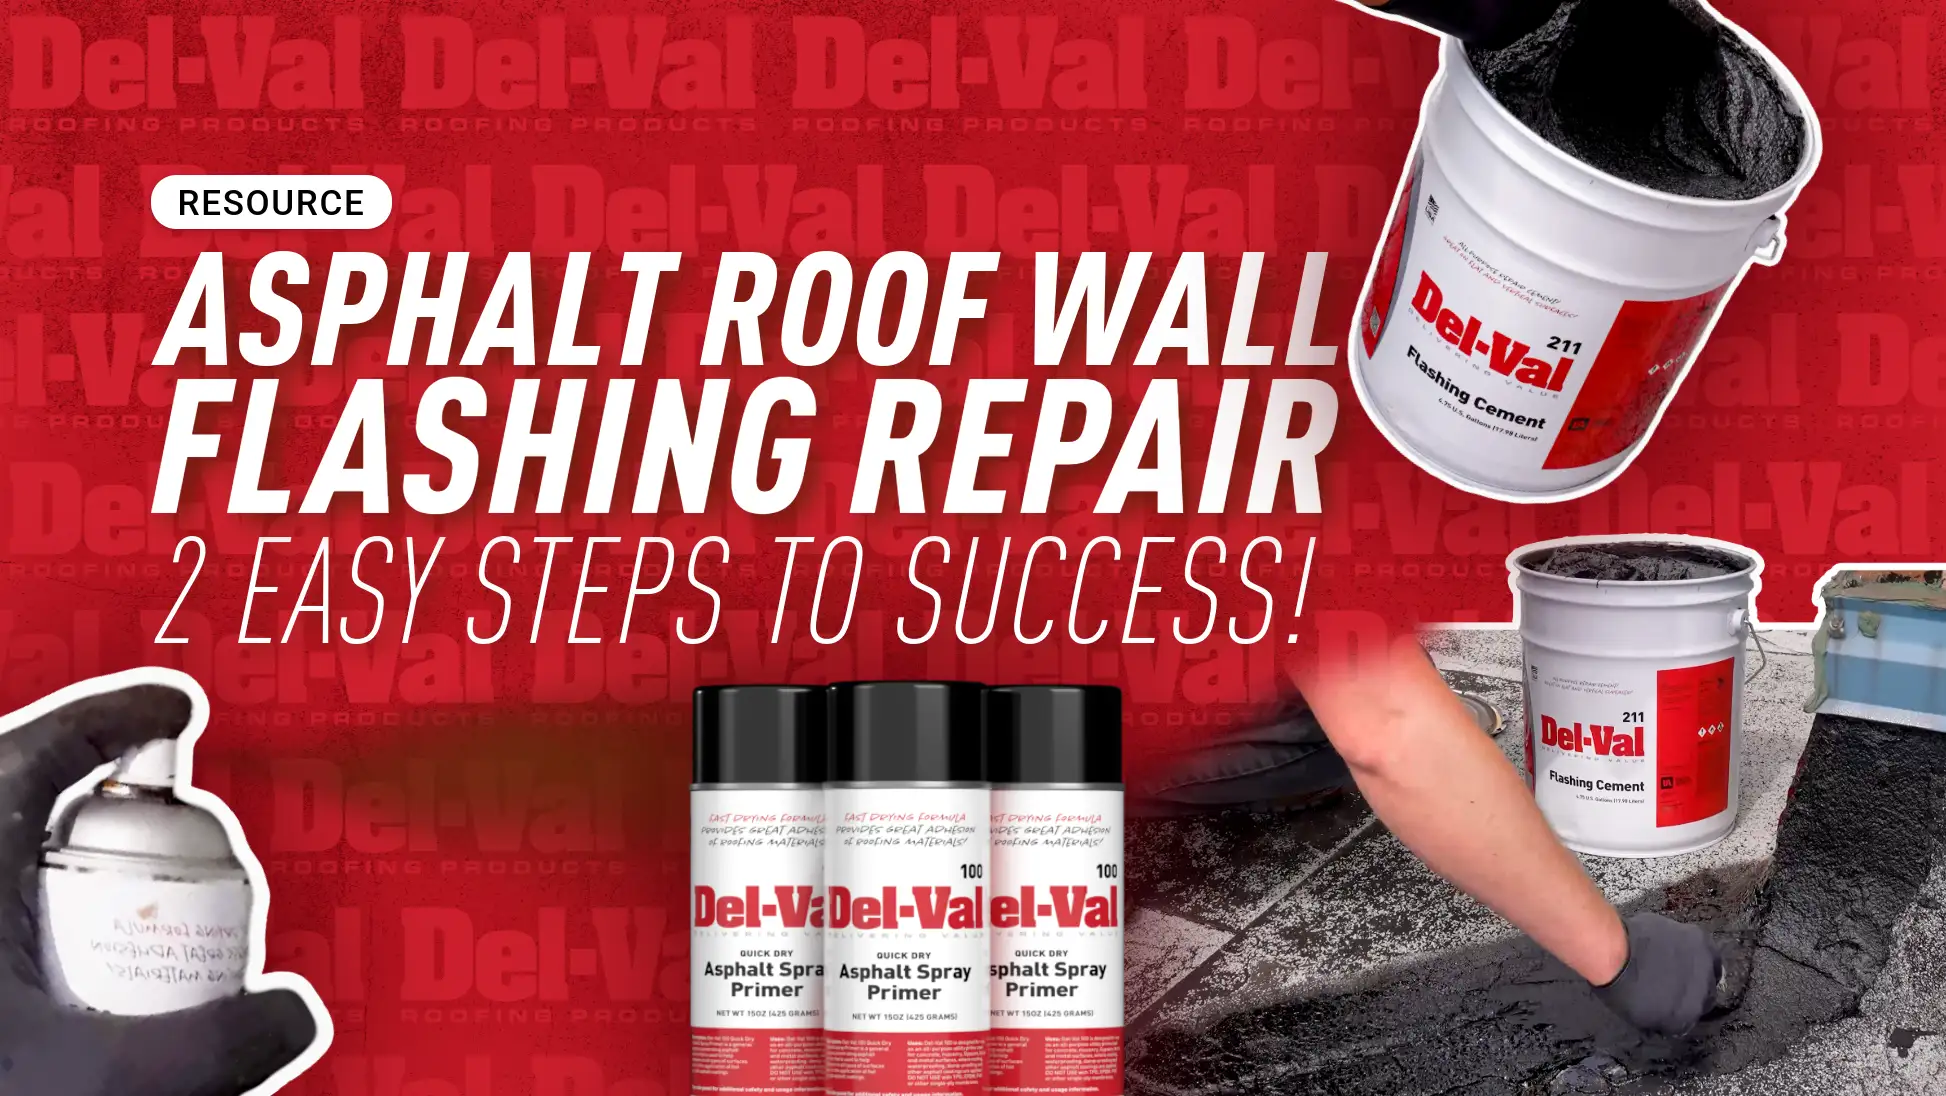
This two-part repair shows a practical approach to restoring dried and aging asphalt wall flashings. The process begins by preparing the repair area with Del-Val 100 Quick-Dry Asphalt Primer. Once the primer has set up, Del-Val 211 Flashing Cement is troweled onto the flashing detail to work material into cracks and reseal the transition on both horizontal and vertical surfaces.
Products Featured in this Article
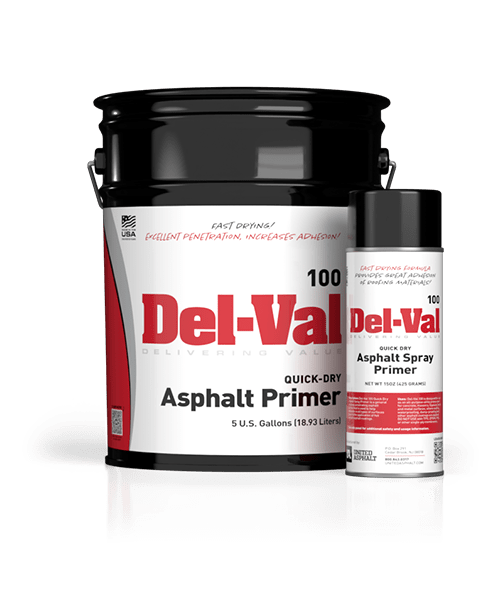
Del-Val 100 is a penetrating asphalt primer designed to help adhesion before asphalt coatings are applied to compatible surfaces.
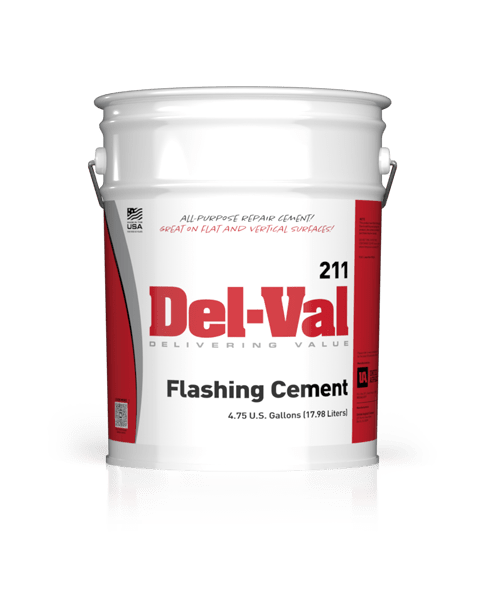
Del-Val 211 is a heavy, smooth, cold-applied flashing cement designed for asphalt roof membranes, roof flashings, penetrations, moving joints, metal and masonry details.
Why Asphalt Wall Flashings Crack
A wall flashing sits in a high-stress location. It is exposed to sunlight, rain, temperature swings, building movement and water flowing down the wall. Over time, the asphalt-based material can lose flexibility and begin to dry out.
That deterioration may first show up as small surface cracks. As the cracking progresses, the older roof cement can separate from the roof or wall surface. In more advanced cases, you may be able to see the reinforcement scrim or fabric within the asphalt membrane.
The problem is not only cosmetic. A cracked roof-to-wall detail creates an opening where water can enter the roof system.
Common signs of aging wall flashings:
- Cracked or dried-out roof cement
- Splitting where the roof meets the wall
- Open edges at the flashing transition
- Exposed reinforcement scrim or fabric
- Loose, brittle or deteriorated asphalt material
- Water staining near the interior perimeter wall
- Recurring leaks near roof corners or wall transitions
Why Corners and Drainage Areas Need Extra Attention
Wall flashing repairs become even more important near roof corners, drains and downspouts. Water running down a wall can collect at the roof-to-wall transition. If that water is also near a clogged drain or low point, the area may experience repeated wetting and ponding.
Ponding water can accelerate wear on an asphalt roof surface and contribute to deterioration around seams, flashings and transitions. Dirt or sediment buildup in a low area can be a useful visual clue that water is repeatedly sitting in the same location rather than draining away as intended.
That does not mean every roof with ponding water needs immediate replacement. It does mean the roof should be inspected, the drainage issue documented and the repair or restoration plan designed around the condition.
Step One: Prepare the Flashing With Primer
The first step in this repair is preparation. Before flashing cement is applied, the aged detail is inspected for loose or failing material and prepared so the repair product can bond as intended.
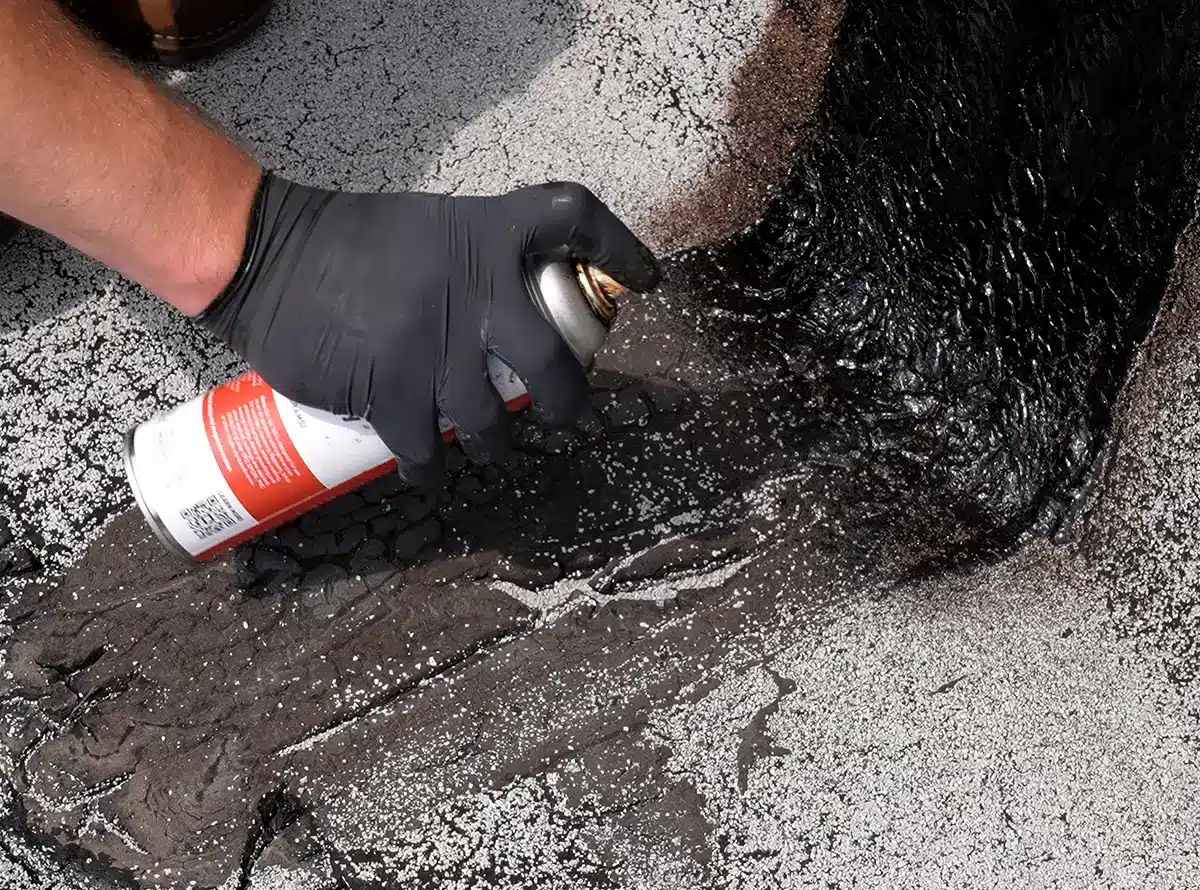
Del-Val 100 Quick-Dry Asphalt Primer is a general-purpose, penetrating asphalt primer used to help adhesion before hot or cold asphalt coatings are applied. It is designed for compatible surfaces including concrete, masonry, gypsum, brick and metal.
Applying primer does not eliminate the need for cleaning and repair preparation. Loose material, contaminants and unsupported sections must be addressed first. The goal is to create a sound, properly prepared surface for the flashing cement.
Proper preparation may include:
- Removing loose, brittle or poorly adhered material
- Cleaning dirt, debris and contaminants from the repair area
- Checking the wall transition for open edges or damage
- Identifying nearby ponding or drainage concerns
- Applying primer to the compatible substrate as directed
- Allowing the primer to set up before applying repair material
Important Note: Del-Val 100 should not be used on EPDM, PVC, TPO or other single-ply membranes. If you’re experiencing these types of challenges with one of these roof surfaces, you have some options, like our Del-Val 101 Single-Ply Etching Primer.
Product compatibility is essential before beginning any roof repair. On these substrates a primer may not be required for your repairs and we’d recommend reviewing the Data Sheet of the products you are considering using first. If you are stuck and don’t even know where to start, get in touch with your local rep.
Step Two: Repair the Detail With Del-Val 211 Flashing Cement
After the primed surface has set up, Del-Val 211 Flashing Cement can be applied with a trowel or putty knife. Its heavy, smooth consistency helps it stay in place on vertical surfaces while allowing the installer to work the material into cracks, splits and openings.
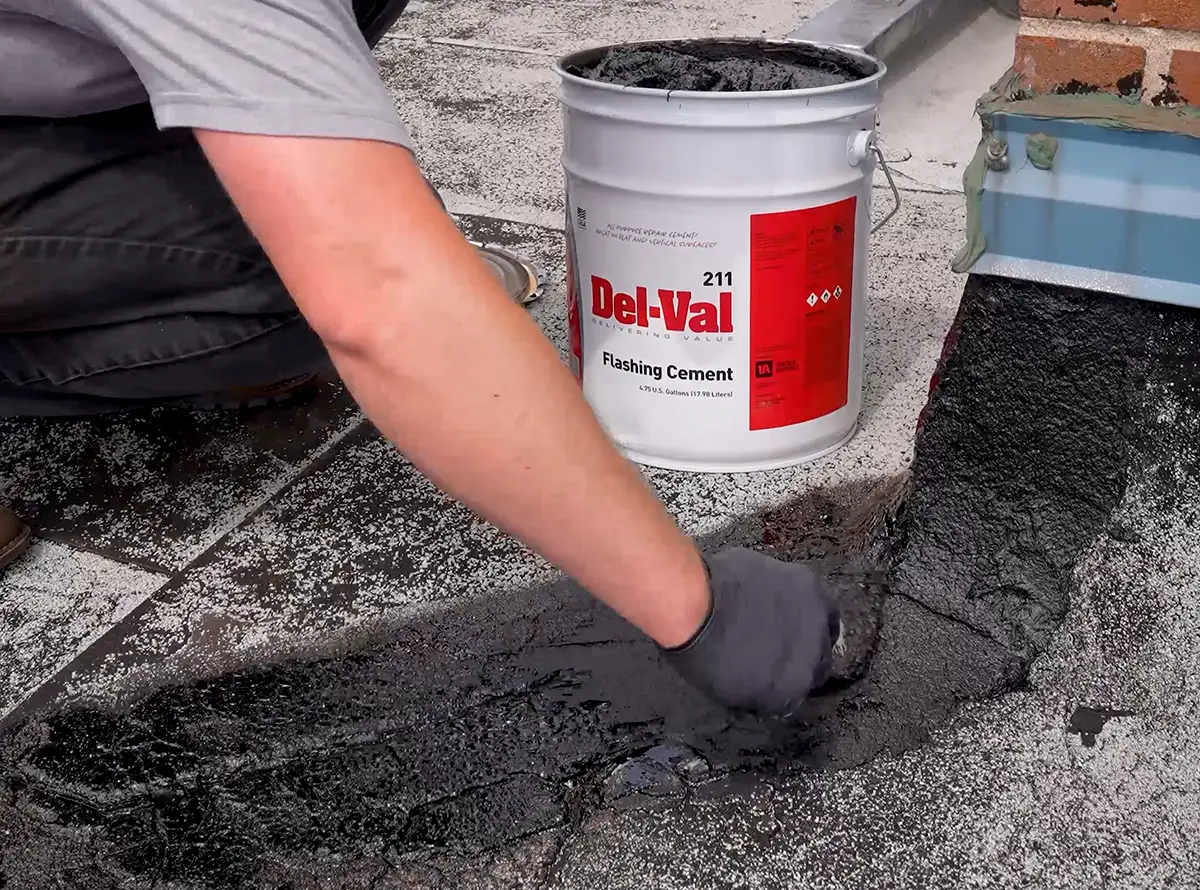
In this repair, Del-Val 211 is applied around the wall flashing and roof-to-wall corner. The material is worked into the deteriorated areas to reseal the transition and help create a watertight finish.
Del-Val 211 is formulated as a cold-applied flashing cement for asphalt roof membranes. Product guidance calls for applying the material at approximately 1/8-inch thickness and working it thoroughly into the repair area.
Del-Val 211 can be used for compatible repairs involving:
- Asphalt roof wall flashings
- Built-up roofing details
- Roof penetrations
- Moving joints
- Metal and masonry transitions
- Gutters and related flashing details
- Cracks, leaks and openings in asphalt roof systems
Important Note: Del-Val 211 should not be used on EPDM, PVC, TPO or other single-ply membranes. If you’re experiencing these types of challenges with one of these roof surfaces, you have some options. Check out Del-Val 230 Modified Liquid Rubber Sealant, Del-Val 241 Silicone Roof Patch or Del-Val 242 Hybrid Liquid Sealant.
Why Repairs Must Come Before Coating
Roof coatings can be a smart restoration option for an aging commercial roof, but a coating system should not be expected to solve unresolved detail failures on its own. Cracked flashings, open seams, failing penetrations and drainage issues need to be identified and repaired before a coating system is installed.
For an asphalt roof that is otherwise a good candidate for restoration, localized flashing repair may be an important part of the coating specification. Once problem details are repaired, the broader roof can be assessed for cleaning, adhesion, compatibility, reinforcement and coating selection.
The right approach depends on the roof’s general condition, existing moisture, drainage performance, substrate compatibility and the building owner’s goals.
When to Request a Roof Inspection
A small crack at a wall flashing can be an isolated repair. It can also be evidence of more widespread roof aging. A professional roof inspection can help determine whether the problem is limited to one detail or part of a larger pattern involving seams, penetrations, ponding water or general membrane deterioration.
Consider requesting an inspection when you see:
- Cracking or splitting around roof-to-wall transitions
- Repeated leaks near perimeter walls
- Ponding water near corners, drains or downspouts
- Exposed scrim, fabric or deteriorated asphalt membrane
- Loose flashing cement or open edges
- A roof that is nearing the end of its warranty period
- Multiple repair areas appearing across the roof
A thorough inspection can document the conditions, identify appropriate repair materials and determine whether repair, restoration or replacement is the best long-term path.
Restore the Detail Before It Becomes a Leak
Dried, cracked wall flashings are a common problem on aging asphalt roofs, but they do not have to become a larger water-intrusion issue. By preparing the compatible surface with Del-Val 100 Quick-Dry Asphalt Primer and repairing cracks with Del-Val 211 Flashing Cement, contractors can restore vulnerable roof-to-wall transitions and help keep water out.
The key is to address the detail early, consider nearby drainage conditions and use products that are compatible with the roof system. If you are seeing cracked roof cement, deteriorated wall flashings or ponding water near the perimeter of your building, schedule a roof inspection to understand your repair and restoration options.